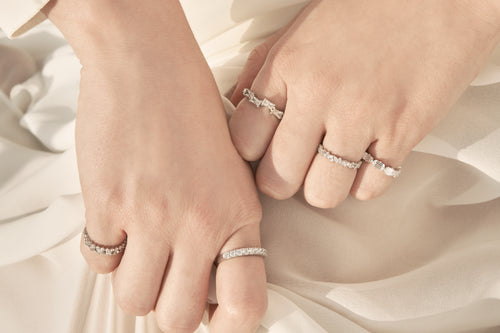


"The Right Ring Has to Fit Right"
Before you add a RAVIPA ring to your cart, there's one simple step that makes online jewelry shopping far more confident — knowing your own ring size. And the good news is, you don't need to visit a store. With just a strip of paper, a pen, and a ruler, you can complete an accurate ring size measurement at home in minutes.
This guide walks you through three reliable ways to measure ring size, along with a standard EU / US / JP ring size chart that RAVIPA uses across every collection. Read through, then measure right away.
Table of Contents

Why Ring Size Matters More Than You Think
Even half a size off can change how a ring feels on your finger from the very first day.
-
Too loose — The ring can slip off without you noticing, especially when washing hands, in cold weather, or any time your fingers shrink slightly with temperature changes.
-
Too tight — Your finger may swell around the band, blood circulation can feel restricted, and removing the ring becomes a struggle after salty meals or workouts.
-
Spinning out of place — The most beautiful part of the design — a center stone or signature motif — keeps rotating to the side instead of sitting front and center.
-
A disappointing reveal — Especially painful if the ring is a gift or a couple ring meant to be worn together on a special day.
Measuring your ring size in advance isn't just about convenience. It's part of caring for a piece you chose with intention.
Shop Ring Collection at RAVIPA now!
Understanding Standard Ring Size Systems
Every ring size starts with two simple measurements:
-
Finger circumference — the distance around your finger, measured in millimeters
-
Inside diameter of the band — the width of the open space inside the ring, also in millimeters
These values then translate into a size number based on each country's standard. In Asia and Thailand, three systems show up most often:
-
EU / TH — common in Thailand and across Europe. Whole numbers like 50, 52, 54.
-
US — smaller numbers like 6, 7, 8, sometimes with a ½.
-
JP (Japan) — popular in Japanese and Korean jewelry. Numbers from 1 to 30.
RAVIPA uses the EU system as its standard. If you're familiar with a different one, the chart below will let you convert in seconds.
What to Prepare Before You Measure
Before starting your ring size measurement, set up your tools and surroundings so you get the most accurate result.
-
Basic supplies — paper, a pen, and a ruler (already in almost every home)
-
Optional tools — a vernier caliper, a ring sizer set, or a non-stretch fabric tape
-
Time of day — afternoon to early evening, when your fingers are at their average size
-
Room temperature — neither too cold nor too hot, since temperature directly affects finger size
-
Body condition — avoid measuring when your fingers are swollen from salty food, lack of sleep, or intense exercise
Relax your hand, take a breath, and you're ready to start.
No Existing Ring? Measure Your Finger Directly
This is the easiest and most popular method for how to measure ring size at home — no special tools required.
What you'll need:
-
A paper strip about 0.5 cm wide (or a piece of string)
-
A pen or pencil
-
A ruler
Steps:
-
Cut a paper strip about 0.5 cm wide and long enough to wrap around your finger.
-
Wrap the strip around the finger you'll wear the ring on — snug, but not tight or loose.
-
If your knuckle is noticeably larger than the base of your finger, wrap around the knuckle area too — the ring has to slide past this point.
-
Mark the exact spot where the paper overlaps using a pen.
-
Unwrap the paper and lay it flat against a ruler.
-
Measure the length from the end to the mark, in millimeters.
-
Match the value to the "Circumference" column in the ring size chart below.
Common mistakes to avoid:
-
Wrapping too tightly so the paper digs into your skin — the result reads smaller than your true size
-
Wrapping too loosely — the result reads larger, and the ring will slip off
-
Skipping the knuckle check — the ring fits the base but won't pass over the knuckle
-
Using a stretchy string or rubber band — the measurement will be off every time
Slide the wrapped paper up and down gently. If it moves with slight resistance but doesn't slip freely, you've got the right tension.
Have an Existing Ring? Measure the Band
If you already own a ring that fits well, this is the most accurate ring size measurement method — it removes the guesswork that comes with wrapping paper.
What you'll need:
-
A ring that already fits the intended finger
-
A sheet of white paper
-
A pencil
-
A ruler (or a vernier caliper if you have one)
Steps:
-
Place the ring flat on the white paper.
-
Carefully trace the inside edge of the ring with a pencil.
-
Keep the line as close to the inner rim as possible.
-
Lift the ring and measure across the circle you've drawn.
-
Measure from one inside edge to the opposite inside edge, passing through the center.
-
Do not include the band thickness — measure only the open space where your finger goes.
-
Record the value in millimeters and check the "Diameter" column on the chart.
Shortcut if you have a vernier caliper:
-
Insert the inner jaws of the caliper inside the ring band.
-
Slowly expand them until both jaws touch the inner edge.
-
Read the value directly — accurate to 0.1 mm with no tracing needed.
This method is great for double-checking the result from the paper-strip method.

The Most Accurate Method — Use a Ring Sizer Set
A ring sizer set (also called a ring mandrel) is the standard tool jewelers use every day. It's a loop of plastic or metal rings in every standard size, each clearly labeled.
Steps:
-
Try the rings on one at a time, working from smaller to larger sizes.
-
Pick the one that slides on and off comfortably — not tight, not loose.
-
Gently rotate the ring on your finger. If it spins easily but won't slip off, that's your size.
-
Read the number on that ring — it's your EU ring size directly.
-
No calculations. No chart conversions.
Why this method wins on accuracy:
-
Eliminates every source of error from paper wrapping or ruler reading
-
Mimics the real wearing experience — you test both putting it on and taking it off
-
Reusable forever, ideal for repeat buyers or gift shoppers
-
It's the global jewelry-industry standard
Best for anyone who wants 100% certainty before placing an order — especially for a meaningful gift.
To borrow or order a ring sizer, message the RAVIPA team directly at LINE: @ravipajewelry.
Standard Ring Size Chart


Note: Values follow international standards. Actual sizing may vary slightly across brands.
RAVIPA uses the EU system as its baseline. If you're between two sizes, simply share the diameter (mm) directly with our team and we'll guide you to the right fit.
How to read this chart:
-
Measured with the paper-strip method? → Use the "Circumference (mm)" column.
-
Measured by tracing an existing ring? → Use the "Diameter (mm)" column.
-
Falling between two rows? → Always go with the larger row.
Pro Tips for an Accurate Ring Size Measurement
Fingers change size throughout the day, and small habits can throw off your measurement more than you'd expect. Here's how to get it right.
1. Timing matters
-
Measure in the afternoon or early evening at normal room temperature — that's your true average size.
-
Avoid measuring right after waking up — fingers tend to be smaller than usual.
-
Avoid measuring right after exercise or salty meals — fingers may be temporarily swollen.
2. Measure more than once
-
Take 2–3 measurements and use the average — this cancels out small errors.
-
If your result falls between two sizes, always size up.
-
The reason: a slightly loose ring is more comfortable than a tight one, and most rings are easier to resize down than up.
3. Adjust based on the ring design
-
Thin bands (less than 3 mm) — use the size you measured.
-
Wide bands like eternity or statement rings (over 5 mm) — go up by half a size.
-
Why: a wider band hugs the finger more tightly, even at the same diameter.
-
Stacking rings — when stacked, add half a size if the combined width exceeds 5 mm.
4. If your knuckle is larger than the base of your finger
-
Choose a size that slips comfortably over the knuckle.
-
Use a silicone ring adjuster on the inside to keep it snug when worn.
-
Or look for an adjustable ring design if the style allows it.
5. Pick the right finger to measure
-
Index, middle, ring, and pinky fingers are all different sizes.
-
Your dominant hand is usually slightly larger than your non-dominant hand.
-
If you're unsure which finger the ring will go on, measure all of them and keep the values as reference.
6. Other factors that affect ring size
-
Weight changes — gaining or losing 3–5 kg can shift your ring size.
-
Pregnancy — fingers tend to swell in later stages.
-
Aging — knuckles may widen slightly over time.
-
Climate — fingers run larger in summer, smaller in winter.
If you're still unsure after measuring, the RAVIPA team is happy to guide you through every step over LINE.
Frequently Asked Questions About Measuring Ring Size
Q: Can I measure ring size at night?
A: Yes, but fingers tend to be slightly larger in the evening due to fluid retention. If you measure at night, consider going down half a size to land closer to your daytime average.
Q: My measurement is between two sizes. Which one should I pick?
A: Always size up. Fingers swell throughout the day, and most rings are easier to resize down than to stretch up.
Q: How do I measure my partner's ring size for a surprise gift?
A: Borrow a ring they already wear and use Method 2 (measure from an existing ring). You can also observe which finger they wear rings on and ask casually if they've ever known their size.
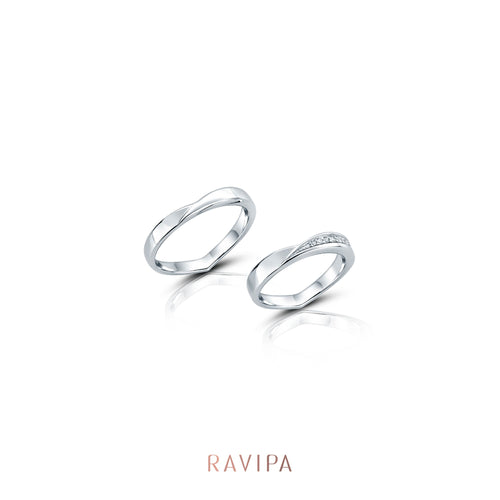
Q: Do couple rings need to be the same size?
A: Not at all. "Couple ring" refers to a matching design — each person wears their own true size.
Q: What if my ring arrives and doesn't fit?
A: Contact the RAVIPA team via LINE: @ravipajewelry. Most rings can be resized depending on the structure and design of each piece.
Q: Can I use a fabric measuring tape?
A: Yes, but watch out for stretching. A non-stretch fabric tape is best — otherwise paper is more reliable.
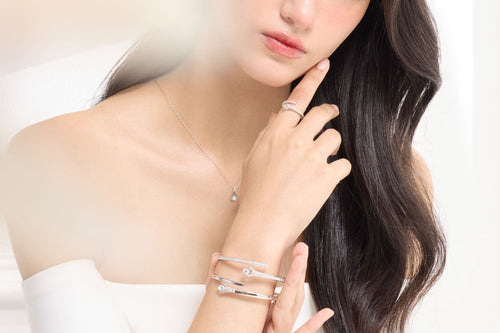
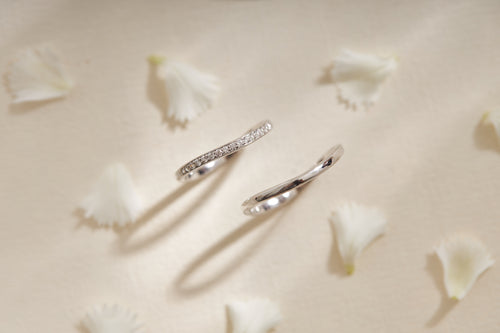
Finding Your Perfect RAVIPA Ring Size
Once you know your size, it's time to choose a ring that carries meaning.
Every ring in the RAVIPA collection is designed to be more than jewelry.
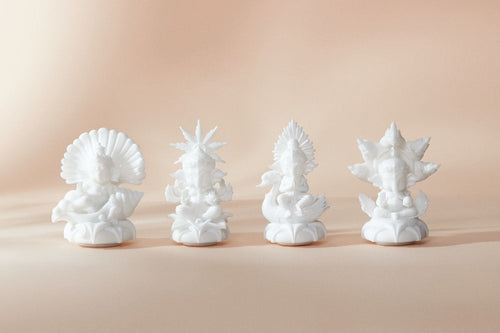
-
Symbolic rings — each piece carries an energy you choose, from sacred florals to auspicious motifs and designs that hold a story.
-
Couple rings — speak to your relationship through simple, meaningful designs.
-
Signature collections — including the Flower of Lakshmi ring that channels abundance, alongside other carefully curated pieces.
Every ring is sized in the EU system and available from EU 44 to EU 60. Our team is always ready to help when you're caught between two sizes. For custom orders or resizing, the RAVIPA team takes care of every detail so the ring hugs your finger just right.
A ring that fits perfectly is one you almost forget you're wearing — yet its meaning stays with you all day.
Explore every collection at ravipa.com, or reach out about sizing, resizing, or finding the piece that's truly yours at LINE: @ravipajewelry. Explore more about News & Tips at RAVIPA Blog


